我们自己编写的发布系统基于Python3.6开发,项目存放在自建gitlab上,地址为ssh://gitlab.xxxx/xxx/xxx.git
这里先简单说下gitlab的3中发布方式:
HTTP协议是最常用的方式,因为它简单易用,拉取只需要输入账号密码,但相对较慢且安全性较低。SSH协议则更加安全和方便,拉取代码速度更快,适合在需要较高安全性的场景使用。而Git协议则更适合在内部网络环境中使用,因为它不需要额外的配置和身份验证,但也较不安全。
一:配置gitlab使支持ssh协议拉取flask项目代码
在这里我们使用ssh方式来拉去flask项目代码,这里需要简单配置下:
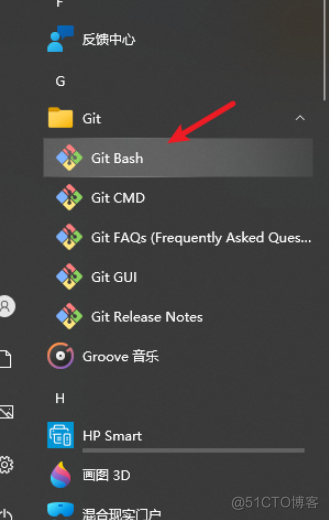
首先打开git bash
在上面执行ssh-keygen
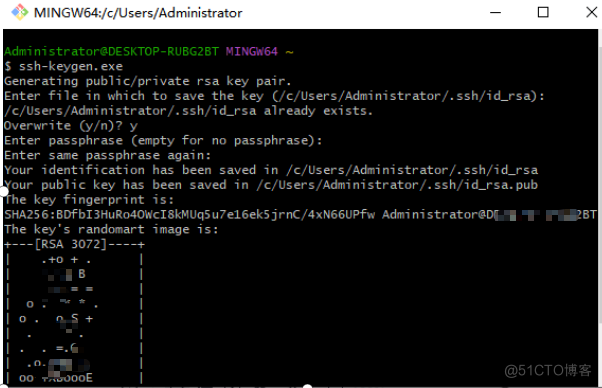
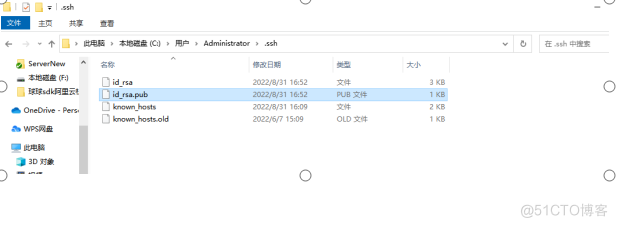
回车就行了,然后看到又生成的密钥对,我们看到是在这个目录下面/c/Users/Administrator/.ssh/
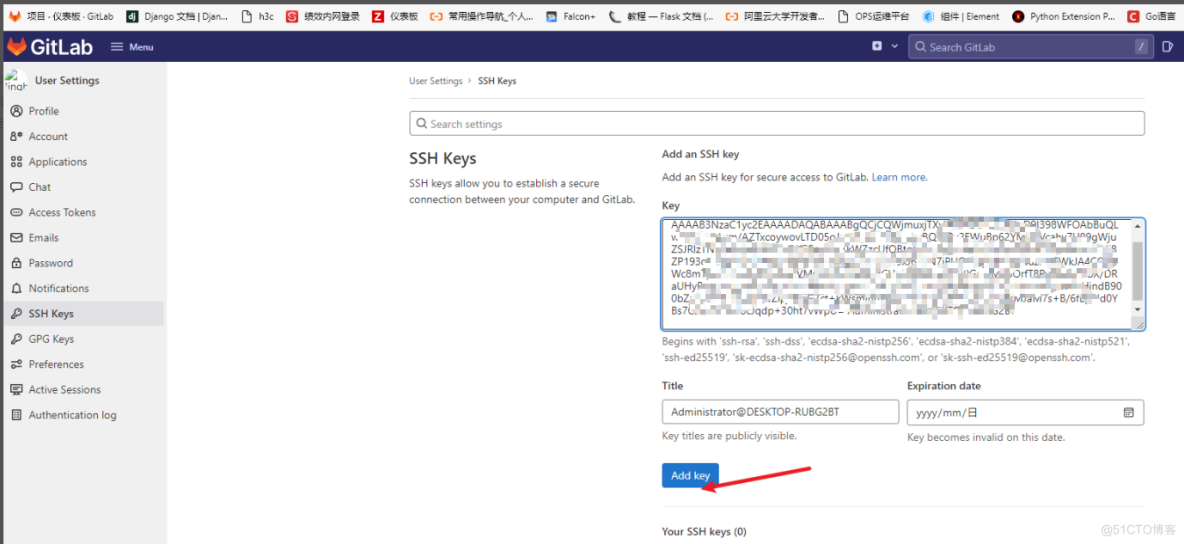
打开公钥文件

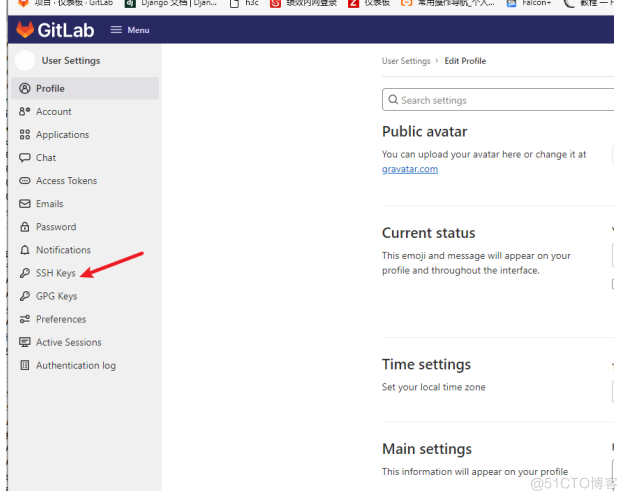
打开gitlab控制台
把我们复制的公钥粘贴上去,然后点add key
二:在服务器上安装基础环境
yum install -y epel-release
yum install -y python3 git supervisor ansible
# enable supervisord
systemctl enable supervisord


# 安装Python virtualenv
pip3 install virtualenv -i https://pypi.tuna.tsinghua.edu.cn/simple

# 运行账号配置
useradd hero
# 注意 一下代码均使用hero用户执行
su - hero
mkdir .ssh
cat > .ssh/id_rsa
三:在服务器上配置gunicron和supervisor
Gunicron是一个在Unix上被广泛使用的,高性能的Python WSGI UNIX HTTP Server。它和大多数的web框架兼容,并具有简单,轻量级,高性能等特点。
1,安装gunicron
su - hero
cd heroes_assemble/
virtualenv venv
# 进入python虚拟环境
source venv/bin/activate
# 安装gunicron
pip3 install gunicron
2,编写gunicron配置文件,文件名为Heroes_Assemble_gunicorn.conf
# 并行工作进程数
workers = 4
# 指定每个工作者的线程数
threads = 2
# 监听内网端口5554
bind = '0.0.0.0:5000'
# 设置守护进程,将进程交给supervisor管理
daemon = 'false'
# 工作模式协程
worker_class = 'gevent'
timeout = 600
# 设置最大并发量
worker_connections = 2000
# 设置进程文件目录
pidfile = '/home/hero/heroes_assemble_gunicorn.pid'
# 设置访问日志和错误信息日志路径
accesslog = '/home/hero/log/heroes_assemble_gunicorn_access.log'
errorlog = '/home/hero/log/heroes_assemble_gunicorn_error.log'
access_log_format = '"%({X-Forwarded-For}i)s" %(h)s %(l)s %(u)s %(t)s "%(r)s" %(s)s %(b)s "%(f)s" "%(a)s" '
# 设置日志记录水平
loglevel = 'warning'
3,配置supervisor启动服务文件配置,文件名为Heroes_Assemble_supervisor.ini
[include]
files=/etc/supervisord.conf

[program:HA]
environment=
            HOME=/home/hero,
            ANSIBLE_FORCE_COLOR=True
user=hero
directory=/home/hero/heroes_assemble
command=/home/hero/heroes_assemble/venv/bin/gunicorn -c /home/hero/heroes_assemble/Heroes_Assemble_gunicorn.conf app:app解释下app:app参数指定了要运行的Python应用程序的名称和变量名。在这里,app指的是Python应用程序的主模块,并且应该有一个名为app的变量,该变量是一个WSGI callable(接受请求并返回响应的函数),如果你的启动文件名不叫app.py而是叫其他的文件名,请自行修改
4,修改supervisor主配置文件使include配置生效

5,将gunicron supervisor启动文件软链到/etc/supervisord.d/目录下
ln -s /home/hero/heroes_assemble/Heroes_Assemble_supervisor.ini /etc/supervisord.d/Heroes_Assemble_supervisor.ini四,启动supervisord
# 启动
systemctl start supervisord
# 使配置生效
supervisorctl update HA
最终实现:

服务器租用托管,机房租用托管,主机租用托管,https://www.e1idc.com